Raspberry Pi Pico First Program Guide
Select the Board and Port in the IDE
- In the Arduino IDE, go to Tools → Board → Raspberry Pi RP2040 Boards and select Raspberry Pi Pico (or Raspberry Pi Pico W if applicable).
- Go to Tools → Port and select the port your board appears on:
- Windows:
COM3,COM4, etc. - macOS:
/dev/cu.usbmodemXXXX - Linux:
/dev/ttyACM0
- Windows:
If the port doesn't appear yet and the Pico still shows as the RPI-RP2 drive, that's expected — it will switch to a serial port automatically after the first sketch is uploaded. See Hardware Setup for entering bootloader mode.
Run a Test Sketch
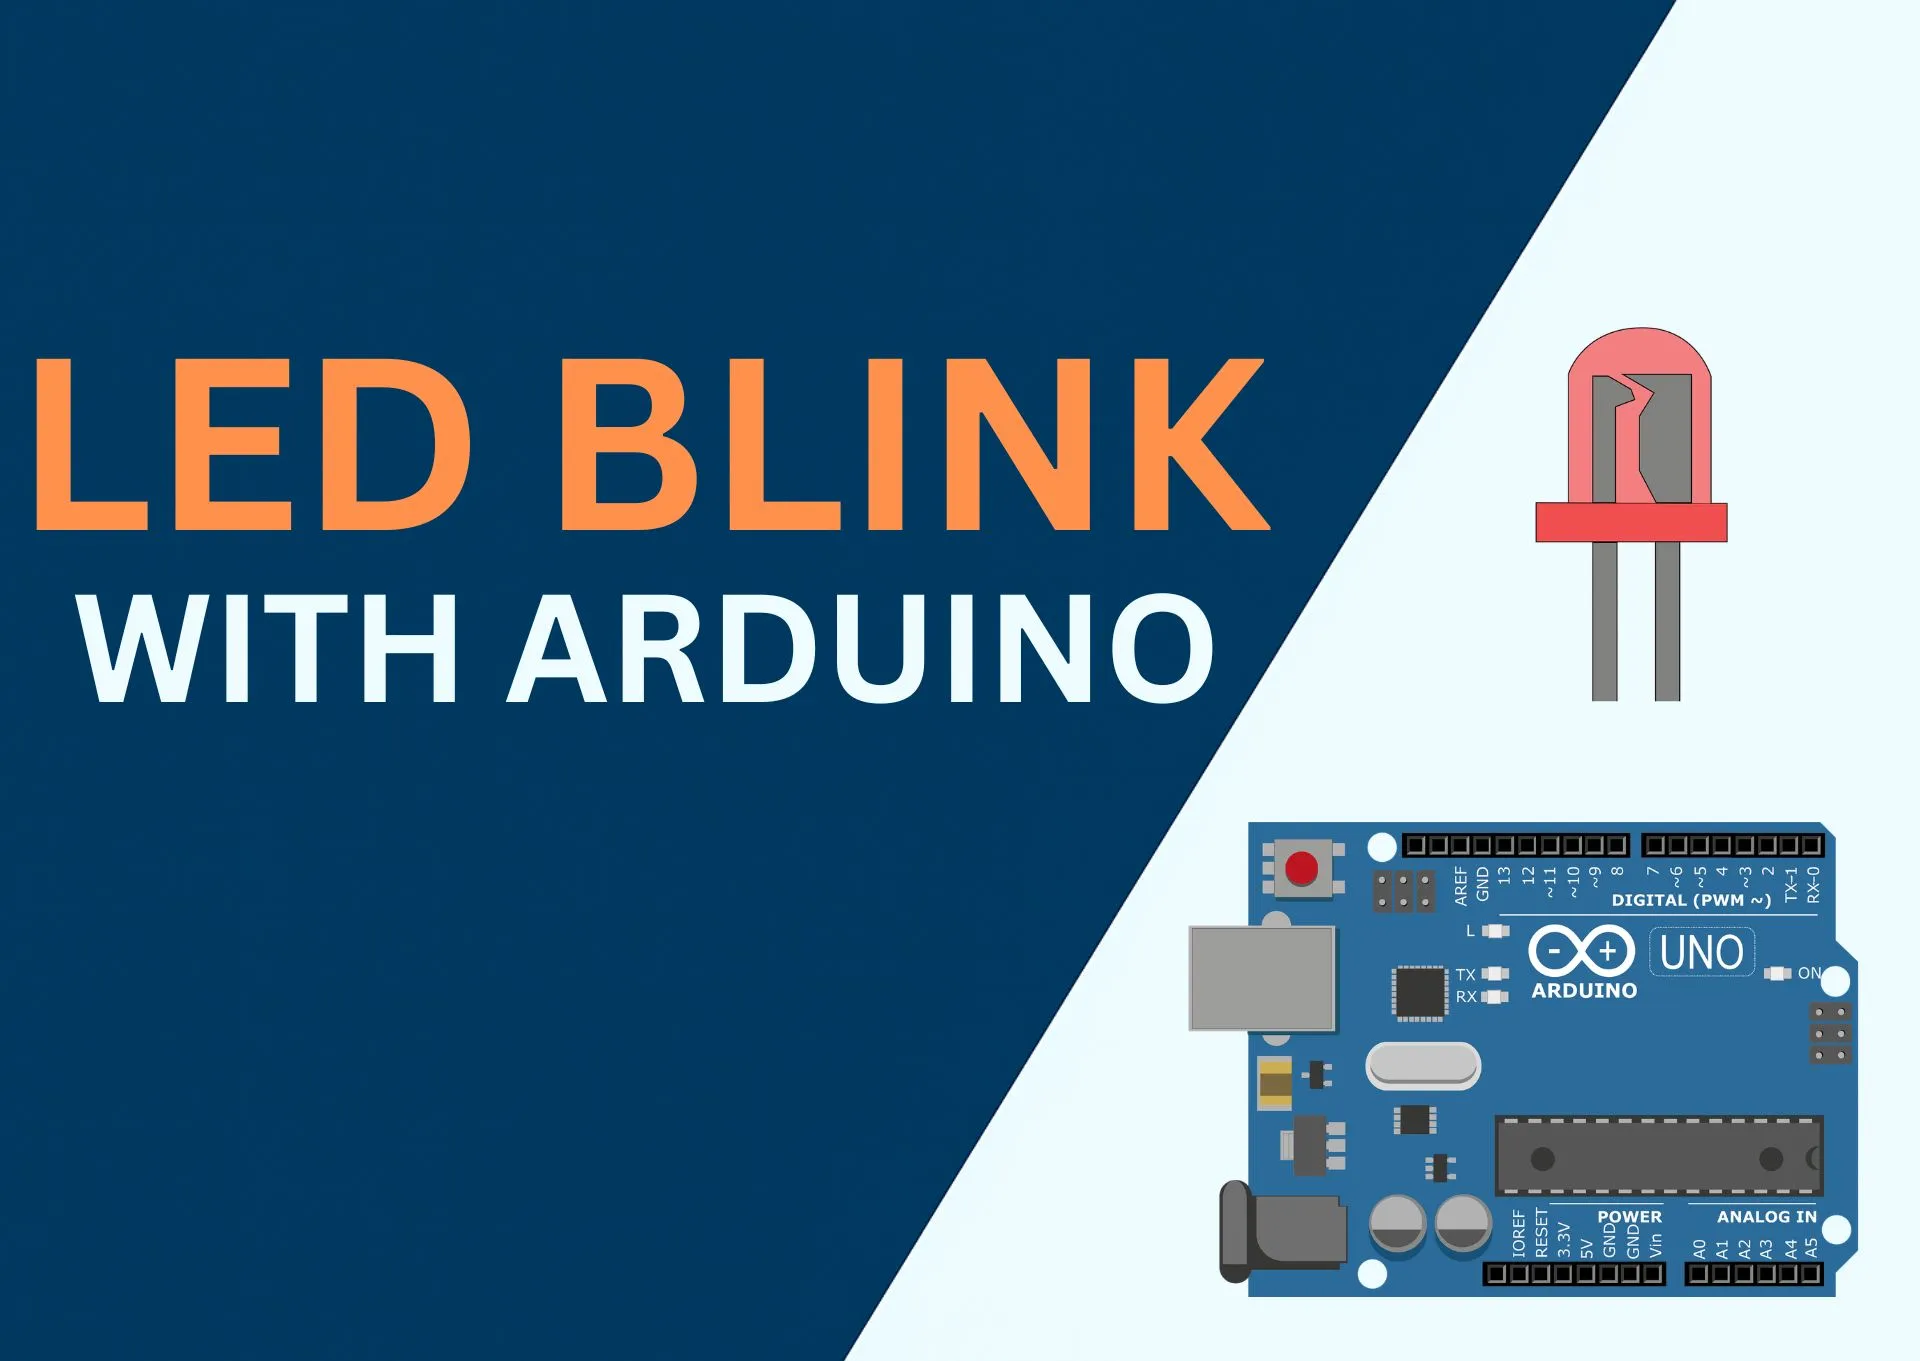
- Open File → Examples → 01.Basics → Blink.
- Click Upload. The first upload may take slightly longer as the IDE puts the board into the correct mode automatically.
- The onboard LED should start blinking once your sketch runs.
Troubleshooting
- Pico shows up as a drive (RPI-RP2) but not as a port — flash any sketch once and it will switch to a serial port for future uploads.
- Upload fails / board not detected — hold BOOTSEL while plugging in the USB cable — see Hardware Setup — then try uploading again.
- Garbled text in Serial Monitor — make sure the monitor's baud rate matches your sketch's
Serial.begin()value (commonly115200).
What's Next?
- Browse Raspberry Pi Pico tutorials & projects
- Try JustFlash to flash pre-built firmware directly from your browser — no IDE required
- Explore Basic Electronics fundamentals like resistors, LEDs, and breadboards