ESP32 First Program Guide

Connect Your Board & Select It in the IDE
-
Plug your ESP32 into your computer using a USB cable.
-
In the Arduino IDE, go to Tools → Board → esp32 and select your exact board (e.g. ESP32 Dev Module).
-
Go to Tools → Port and select the port your board appears on:
- Windows:
COM3,COM4, etc. - macOS:
/dev/cu.usbserial-XXXXor/dev/cu.SLAB_USBtoUART - Linux:
/dev/ttyUSB0
- Windows:
-
Set Tools → Upload Speed to
115200if you run into upload errors.
If no port appears, double-check the USB cable (some are charge-only) and that the driver is installed correctly — see Hardware Setup.
Run a Test Sketch
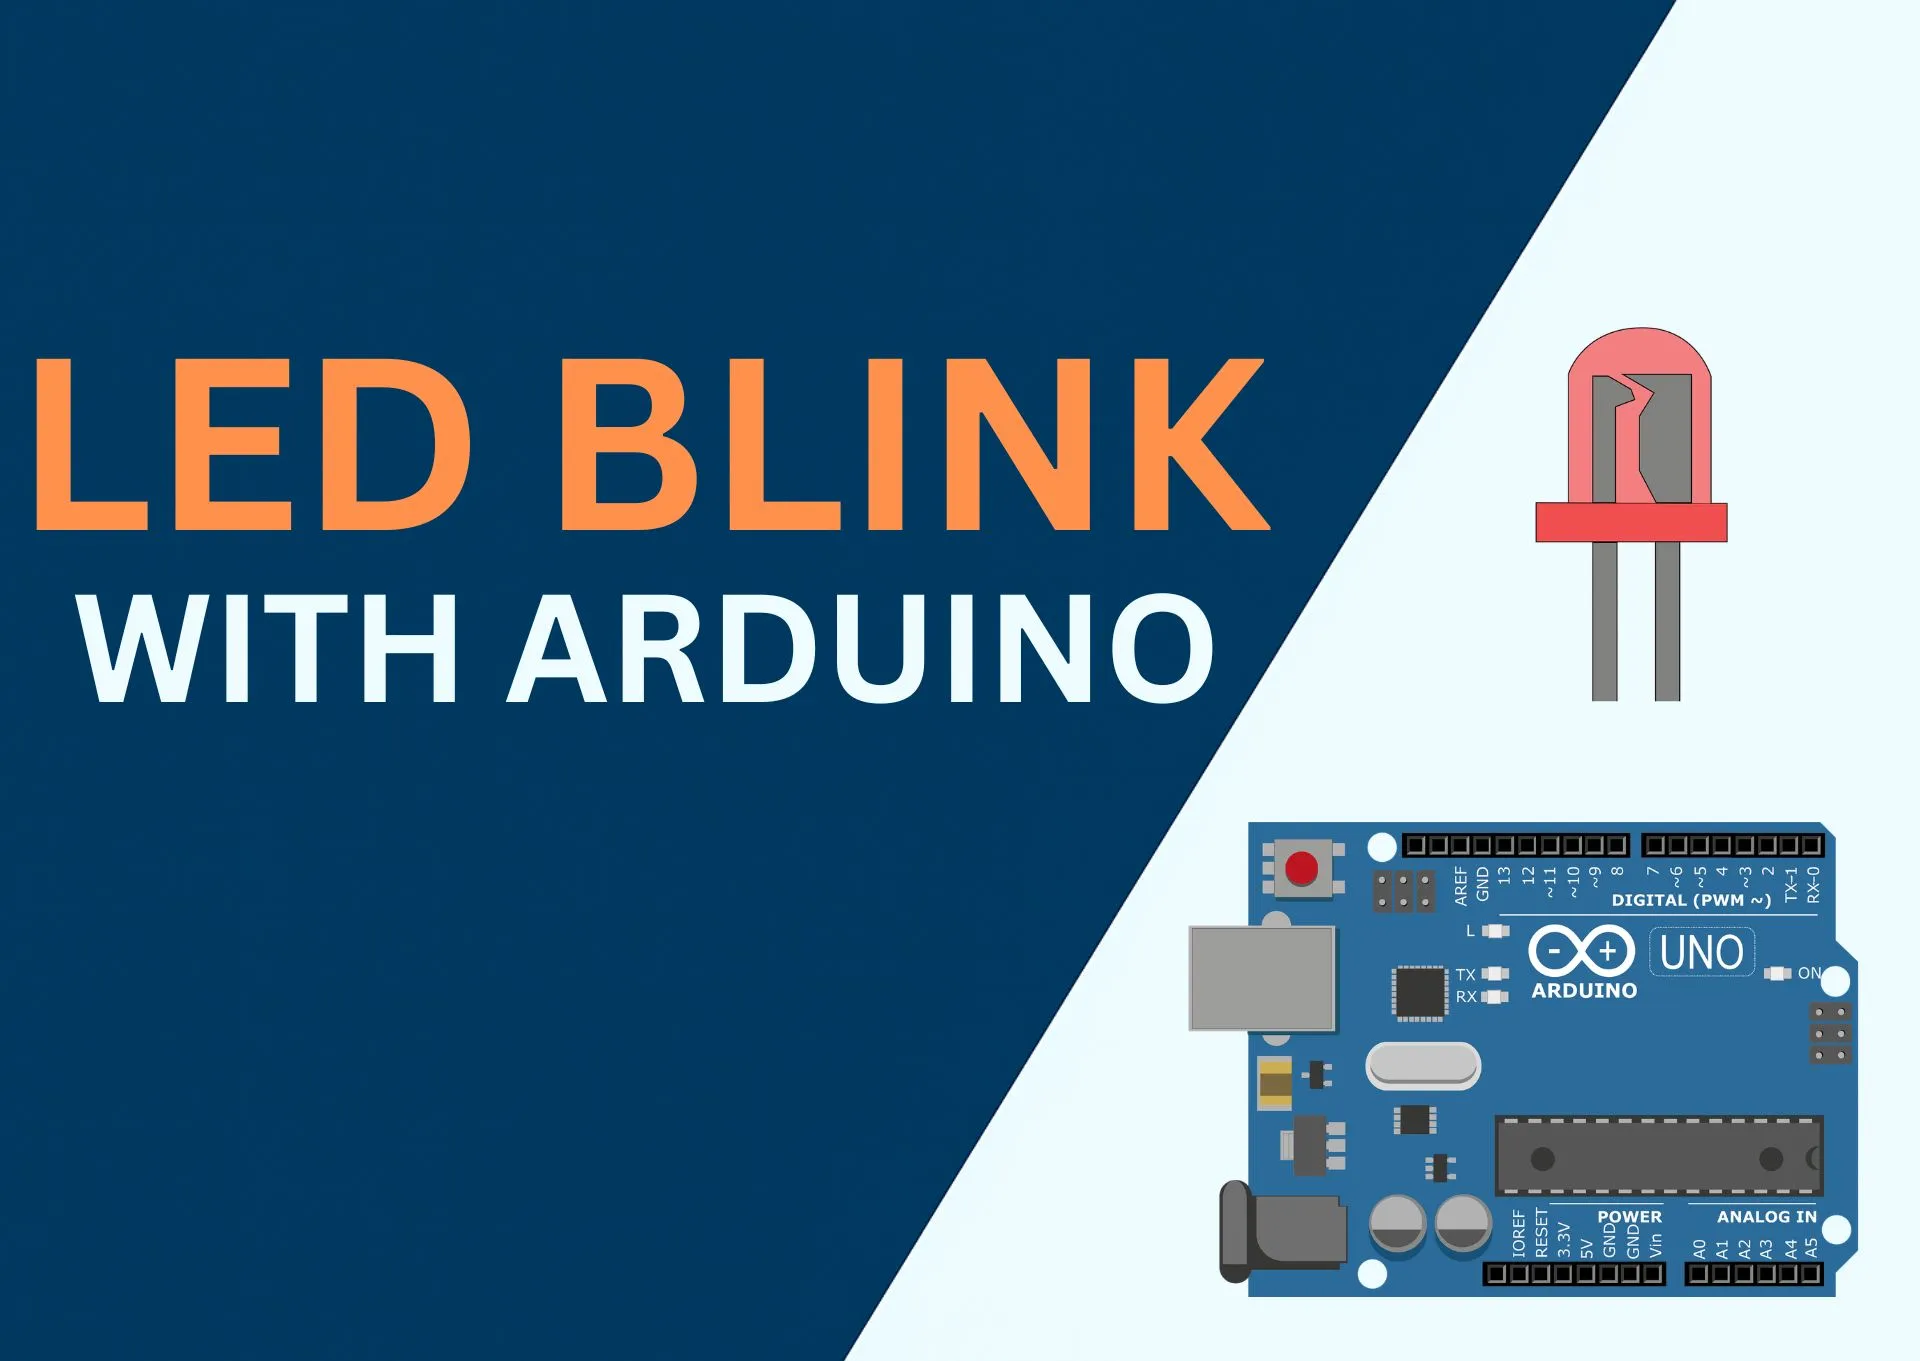
- Open File → Examples → 01.Basics → Blink.
- Click Upload. Some ESP32 boards require holding the BOOT button while the IDE shows "Connecting..." for the upload to start.
- The onboard LED should start blinking once your sketch runs.
Want a guided walkthrough with wiring and code explanations? Check out the LED Blink tutorial.
Troubleshooting
- "A fatal error occurred: Failed to connect to ESP32" — hold the BOOT/FLASH button on the board while uploading starts, then release once it begins.
- Port doesn't show up — install the correct USB driver — see Hardware Setup — and try a different USB cable.
- Garbled text in Serial Monitor — make sure the monitor's baud rate matches your sketch's
Serial.begin()value (commonly115200).
What's Next?
- Browse ESP32 tutorials & projects
- Try JustFlash to flash pre-built firmware directly from your browser — no IDE required
- Explore Basic Electronics fundamentals like resistors, LEDs, and breadboards