Arduino First Program Guide
Connect Your Board & Select It in the IDE
- Plug your Arduino into your computer using a USB cable.
- Open the Arduino IDE.
- Go to Tools → Board and select your exact board (e.g. Arduino Uno).
- Go to Tools → Port and select the port your board appears on:
- Windows:
COM3,COM4, etc. - macOS:
/dev/cu.usbmodemXXXX - Linux:
/dev/ttyACM0or/dev/ttyUSB0
- Windows:
If no port appears, double-check the USB cable (some cables are charge-only and carry no data) and that drivers are installed — see Hardware Setup.
Run Your First Sketch
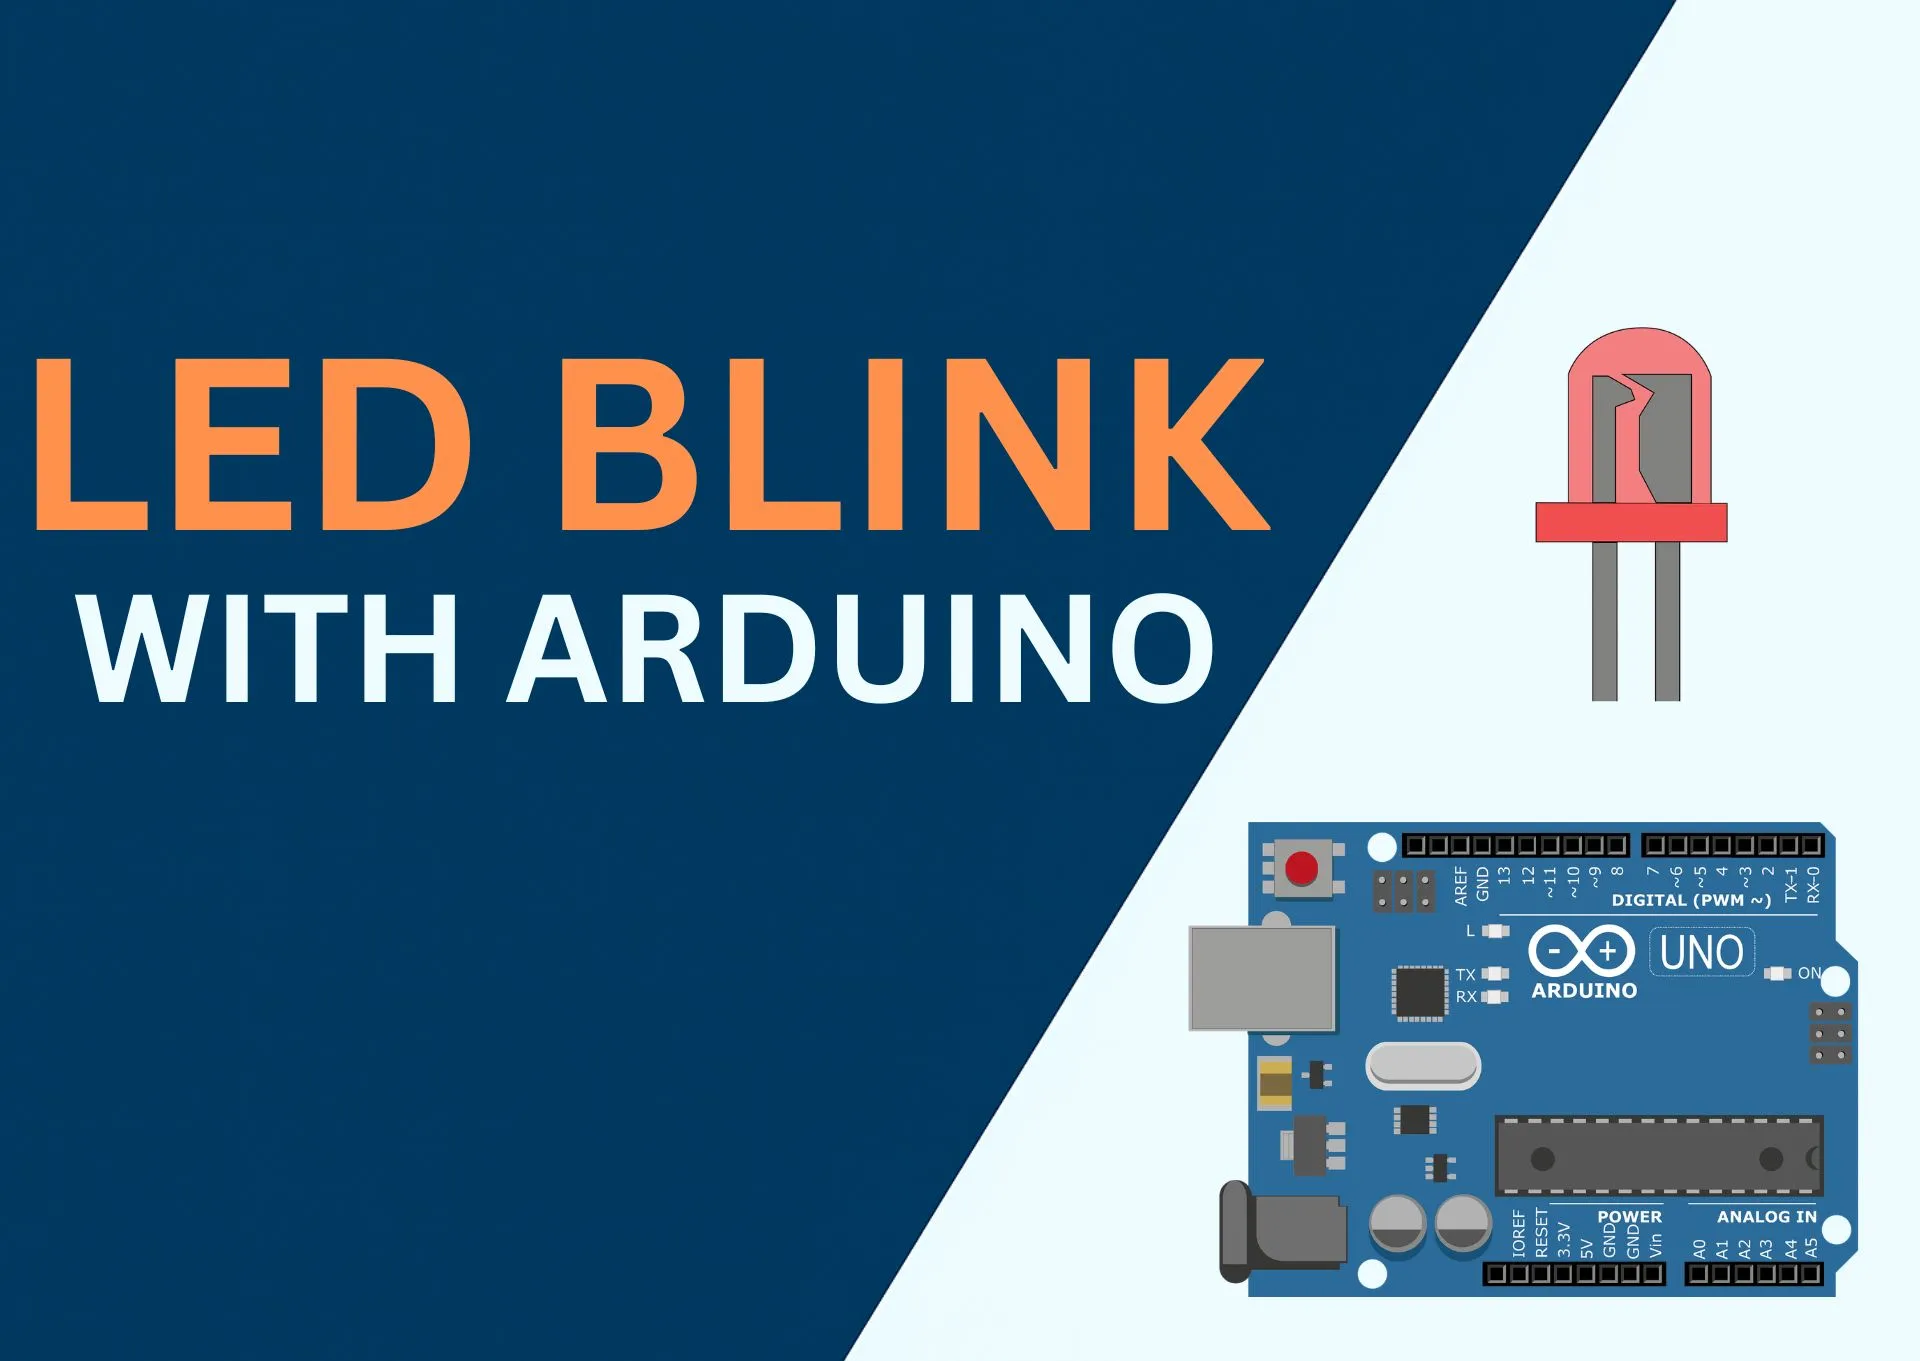
- Open File → Examples → 01.Basics → Blink.
- Click Upload (the right-arrow icon). The IDE will compile and flash the sketch.
- The built-in LED on your board should start blinking once per second.
Want a deeper walkthrough with wiring, schematics, and code explanations? Check out the full LED Blink tutorial.
Troubleshooting
- "avrdude: stk500_recv(): programmer is not responding" — wrong board or port selected, or the board is mid-reset. Re-select the port and try again.
- Port doesn't show up — try a different USB cable/port, and confirm drivers are installed — see Hardware Setup.
- Upload works but nothing happens — make sure you selected the correct Board type, since bootloaders differ between boards.
What's Next?
- Browse Arduino tutorials & projects
- Try JustFlash to flash pre-built firmware directly from your browser — no IDE required
- Explore Basic Electronics fundamentals like resistors, LEDs, and breadboards